Notifications
Clear all
Topic starter
23/10/2016 1:24 pm
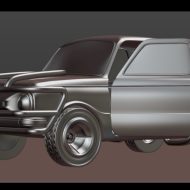
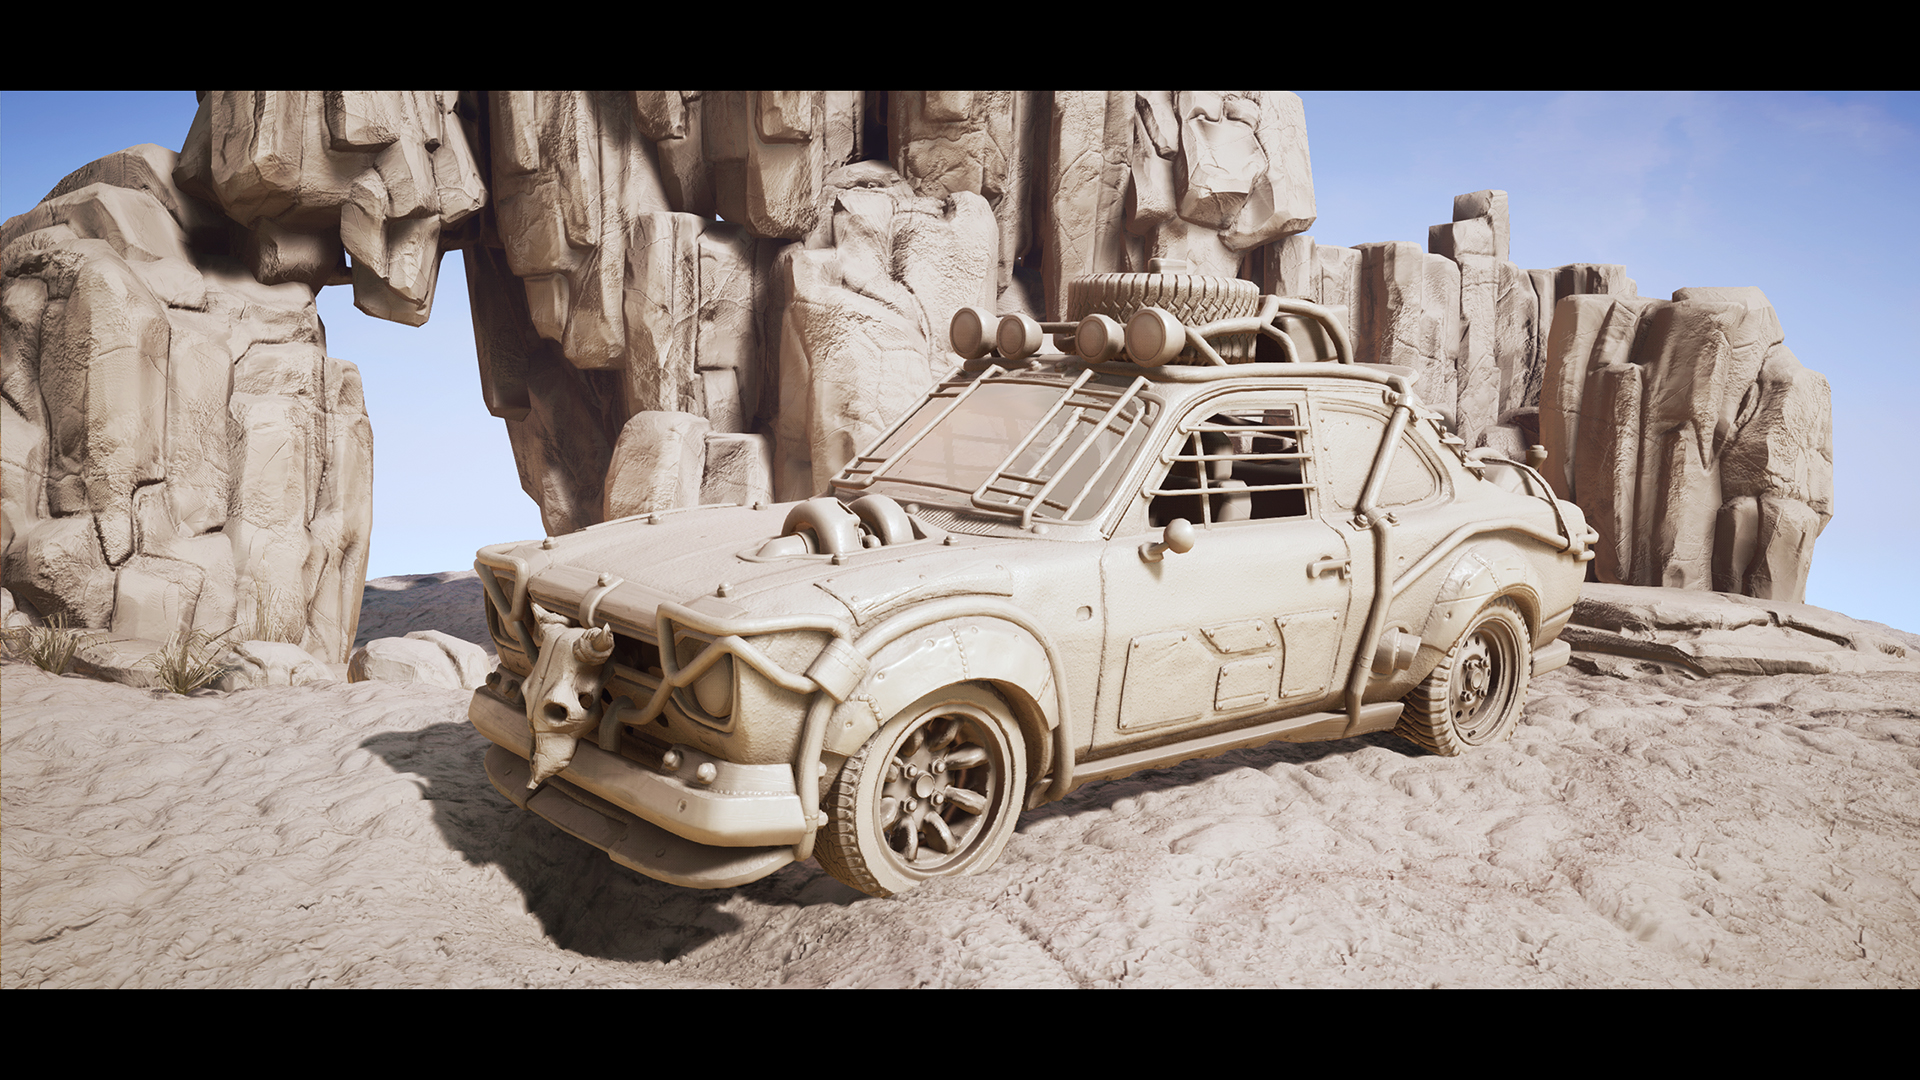
I´ve been building more environment assets and started to make the final scene.
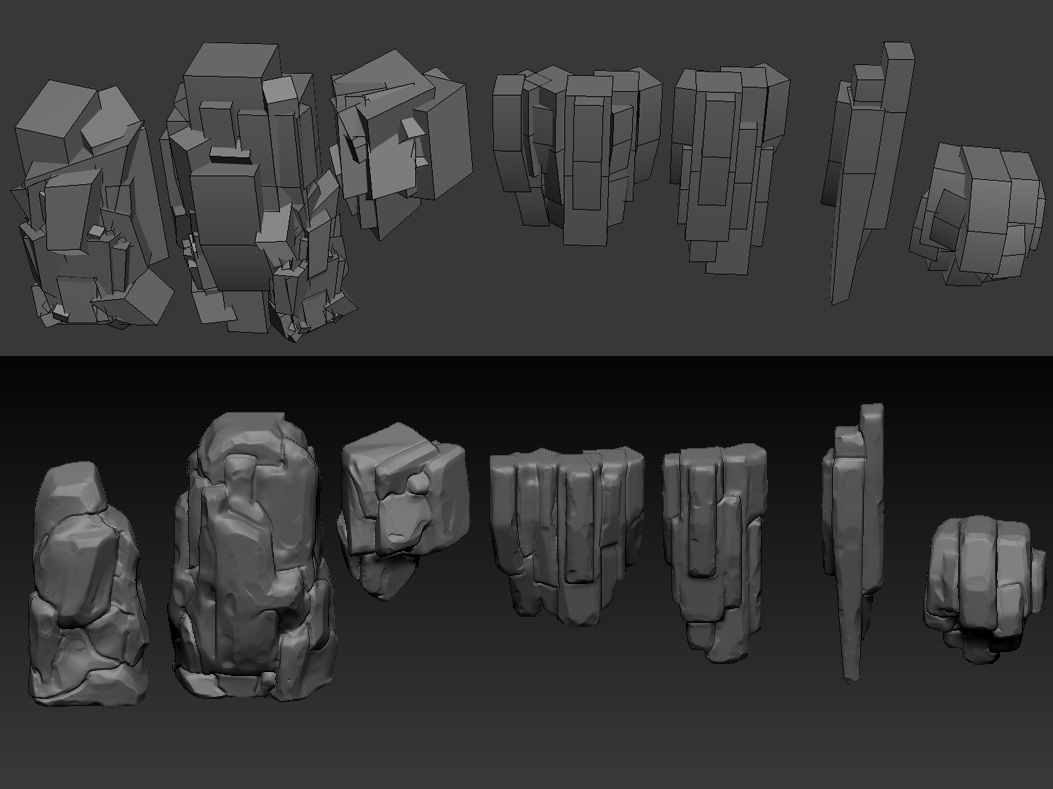
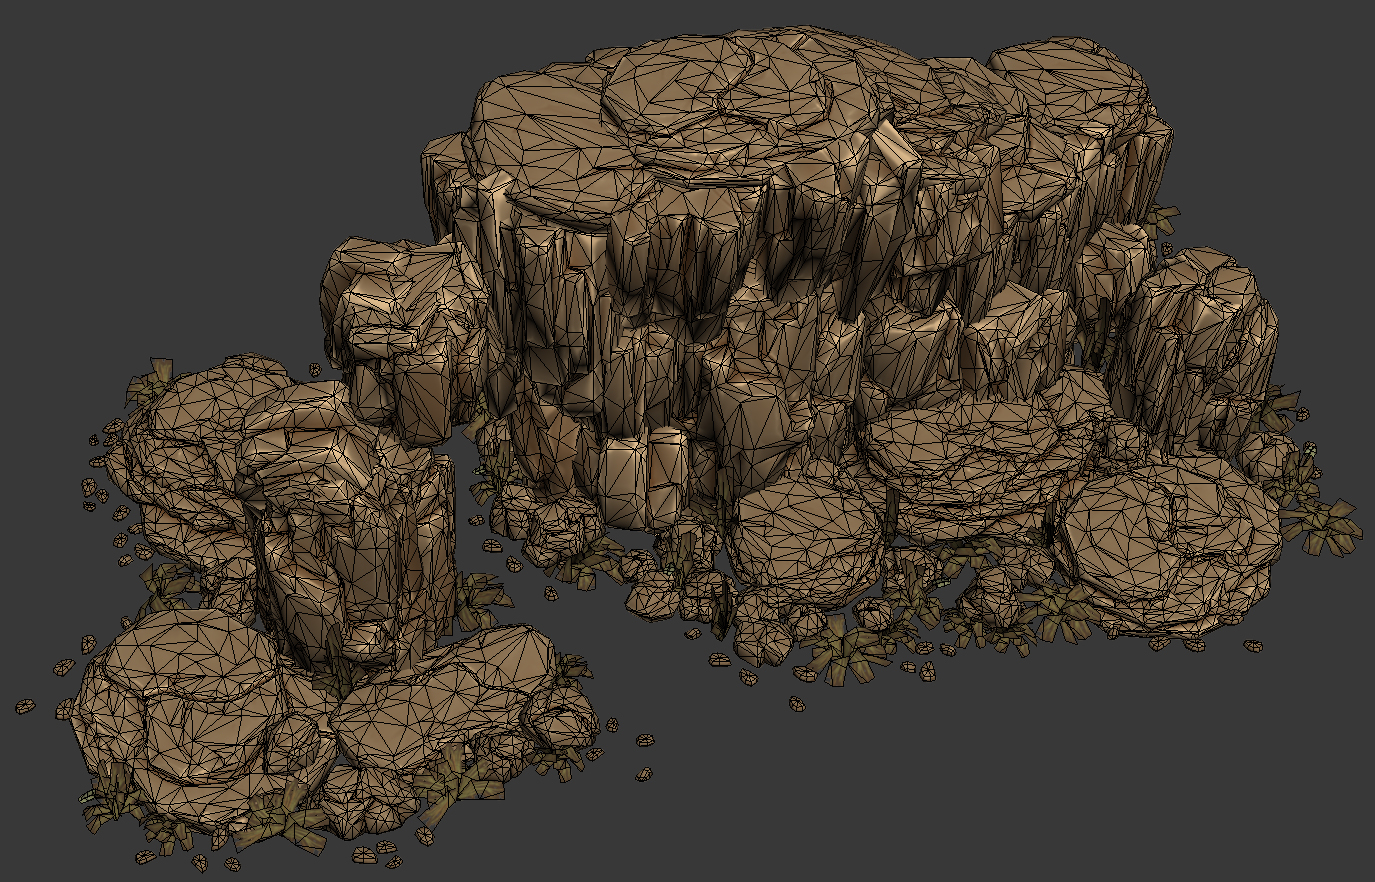
Here is a nice little trick that I found out when doing all kinds of rocks. 1. First block them out with simple boxes. 2.Then use ZBrush dynamesh to melt those boxes together. 3. Start using flatten, move and trim adabtive brushes to make the final rock.
So far I used Substance Designer for every texture. Sand will be one of the biggest materials in my scene so I decided to use a lot of time to get it right. I made two different sand materials and one large normal map. Then I can blend those together in UE4 with vertex paints so I can create more organic landscape that looks more real.
I also tweaked lighting a lot to get nicer shadows and bounce lighting. Even though it´s a desert I wanted to add some foliage there to make it more alive. My workflow for this kind of stuff is 1. base models in 3ds max. 2. detailing in ZBrush. 3. Low-poly models in 3ds max and uvs. 4. Bake maps in Substance Designer and texture.
My todo list is still pretty long so I need to get back to work 🙂

24/10/2016 9:37 am
as usual amazing!
Topic starter
24/10/2016 1:02 pm
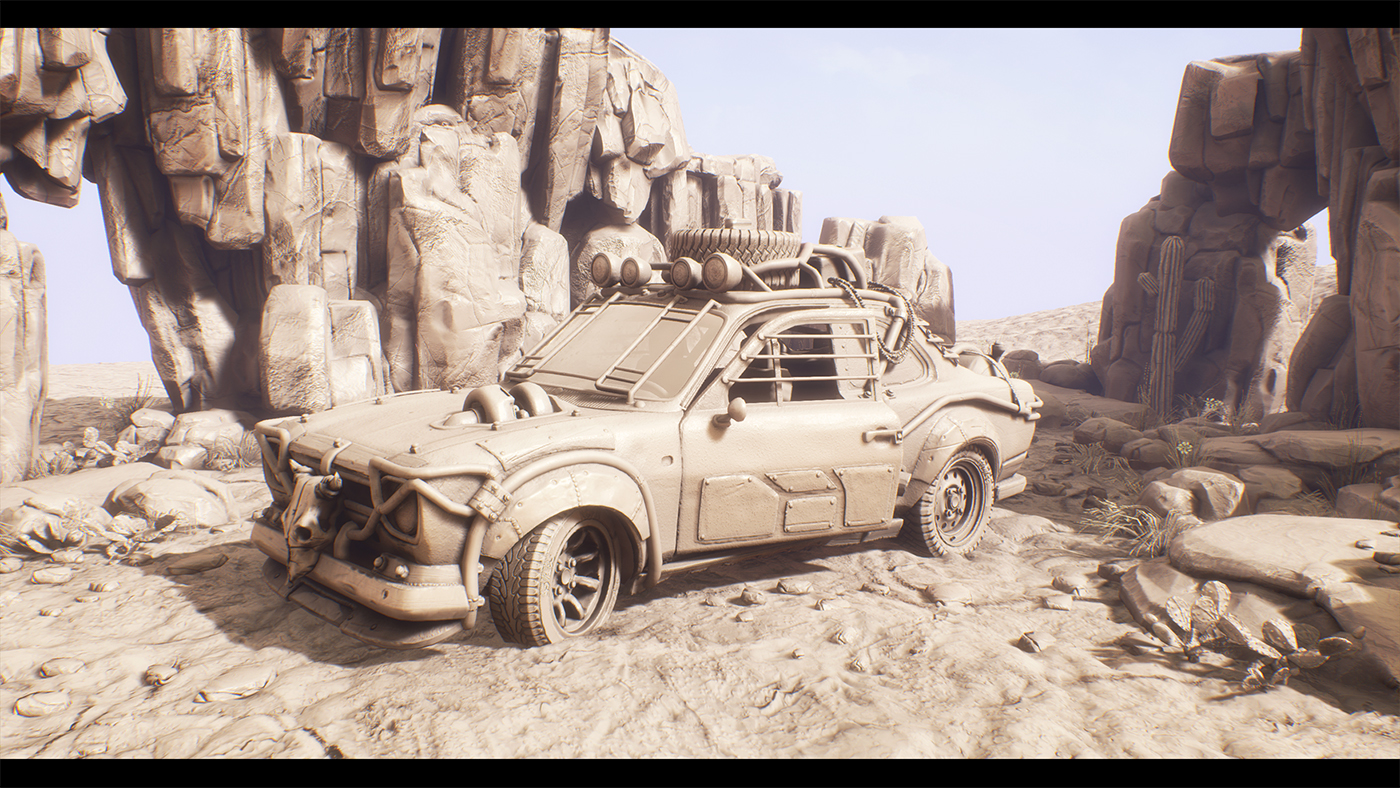
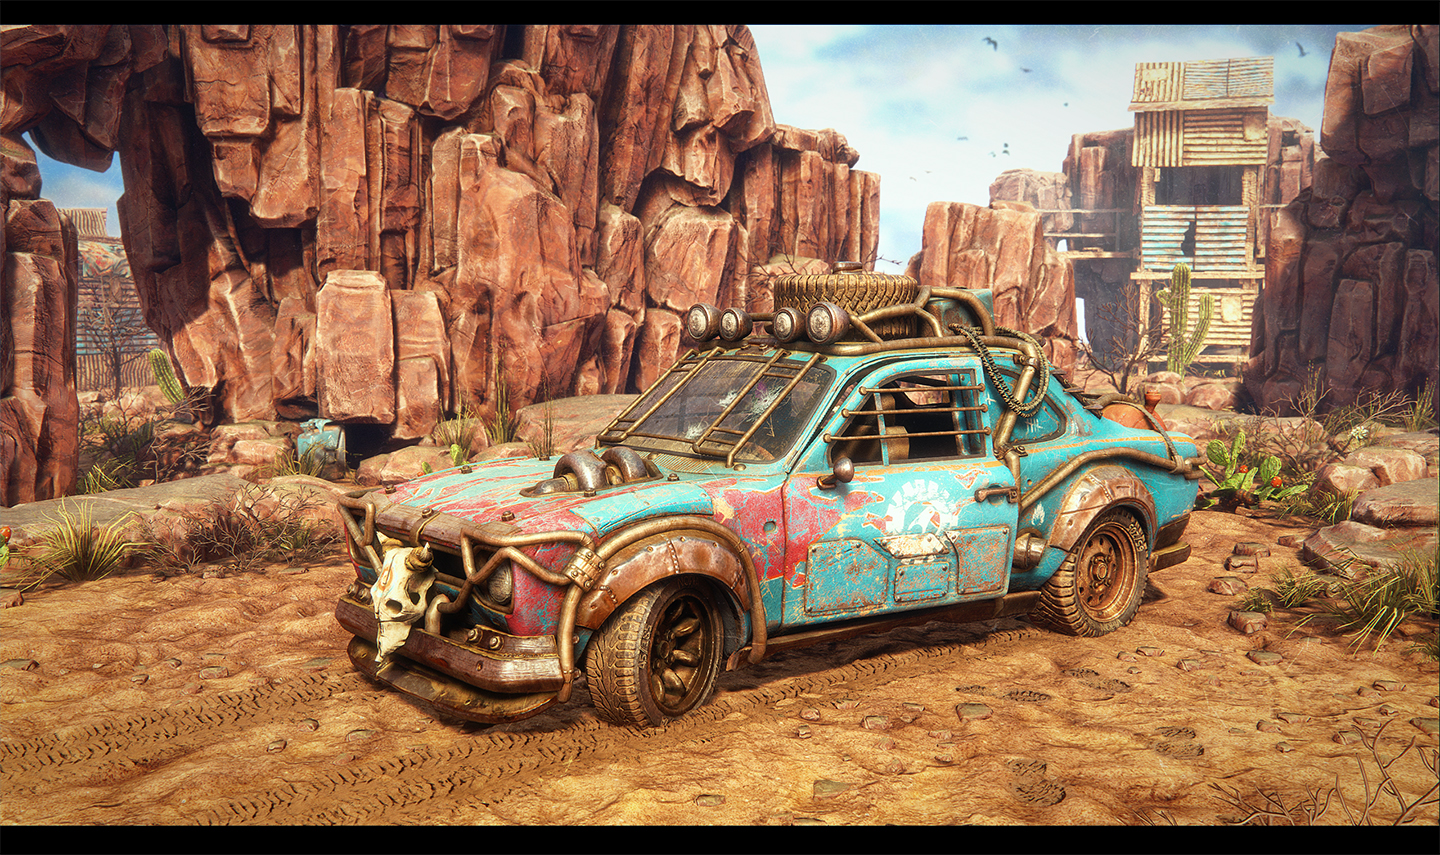
Here is a shot what I have in UE4 so far. Few things left to do for environment side of things and then it´s just polish, polish and polish. Took quite a long time to make all of this and running in real-time but now it´s much easier to tweak things because changes happen instantly and maybe even put this car to drive there 🙂
Topic starter
30/10/2016 7:41 am
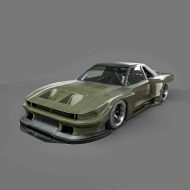
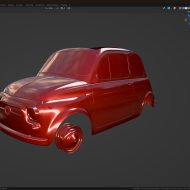
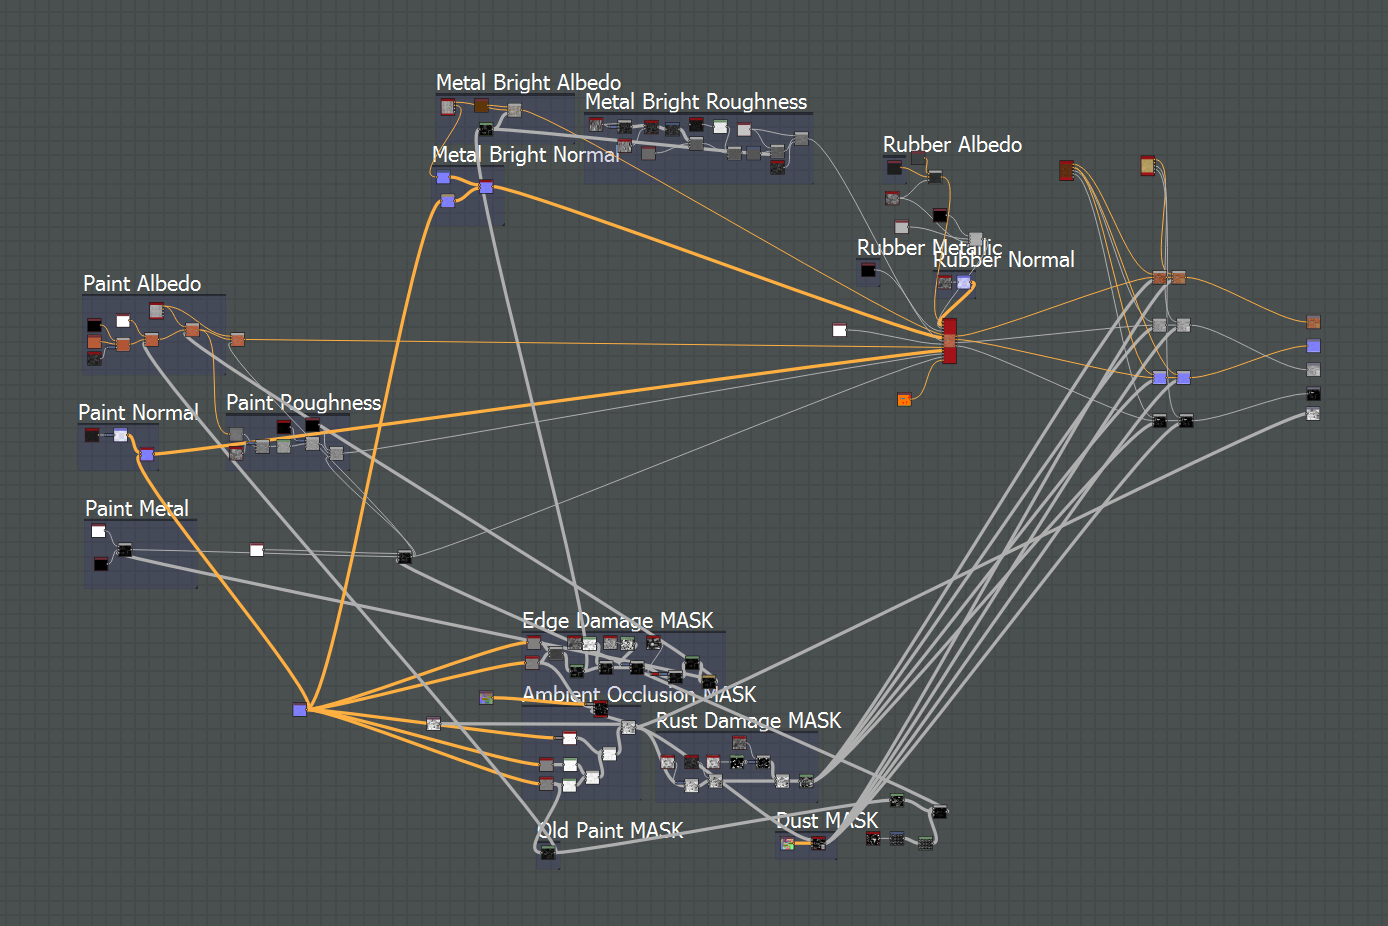
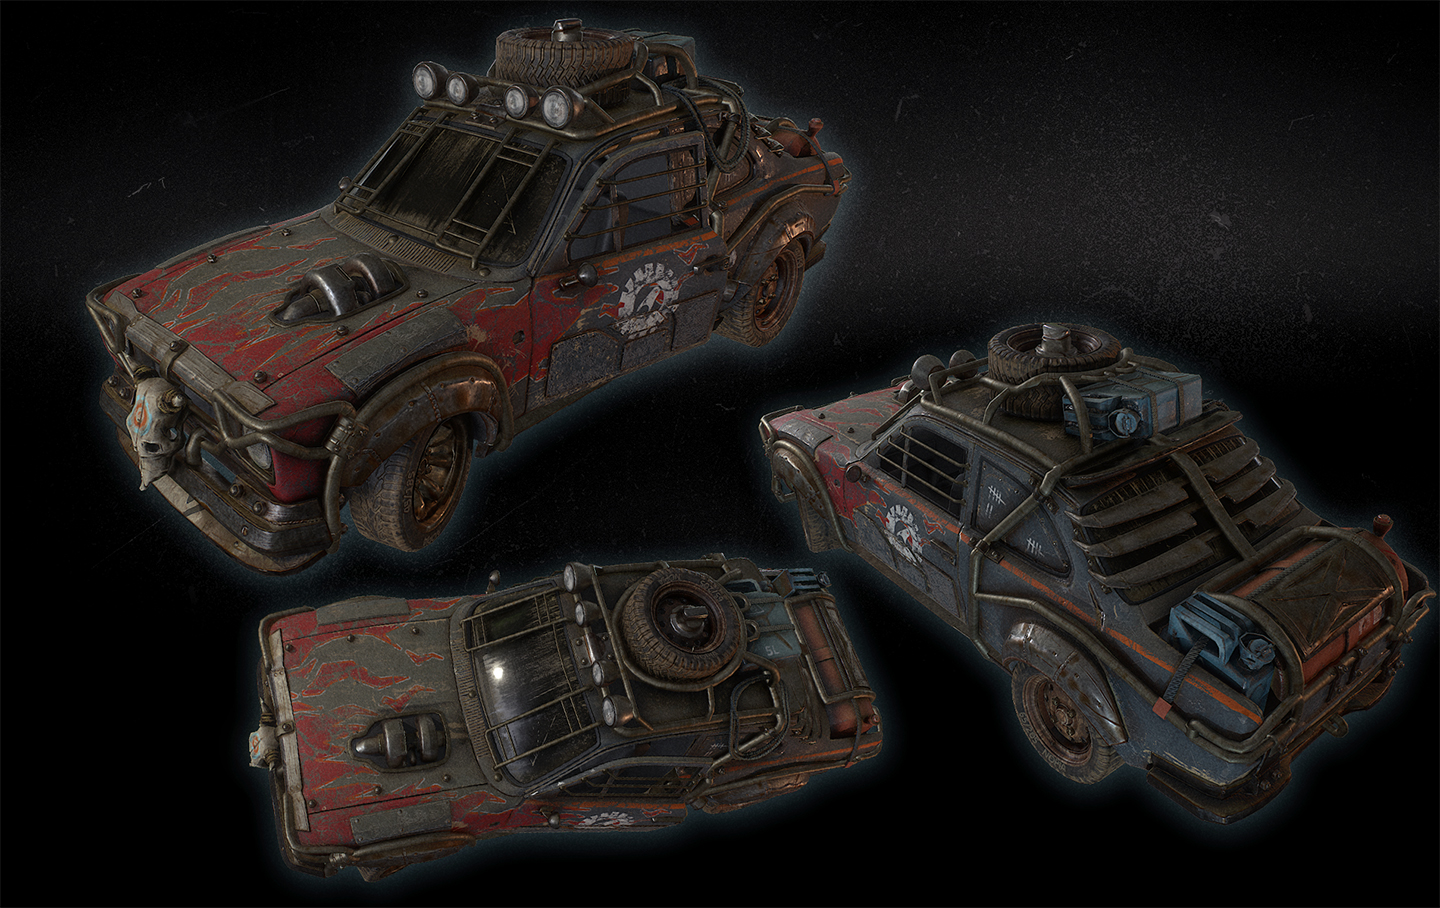
I´ve been polishing things a lot during the week. Lighting is new, car textures are tweaked, flame paintjob, more rocks etc.. Still a lot to do and I hope I can finish this in time.
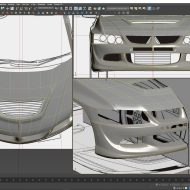
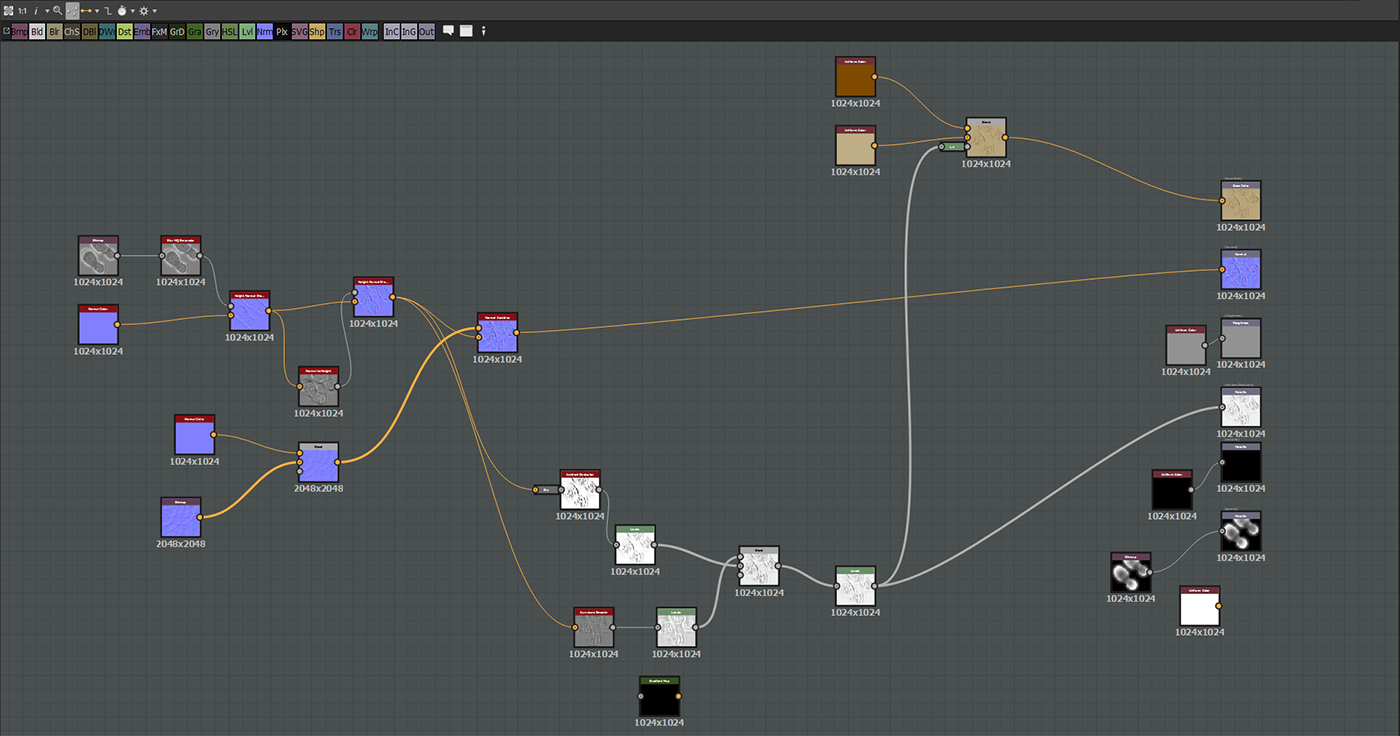
Here is also a shot about the texture graph I created in Substance Designer for the car body.


Topic starter
02/11/2016 5:43 pm
Thanks!
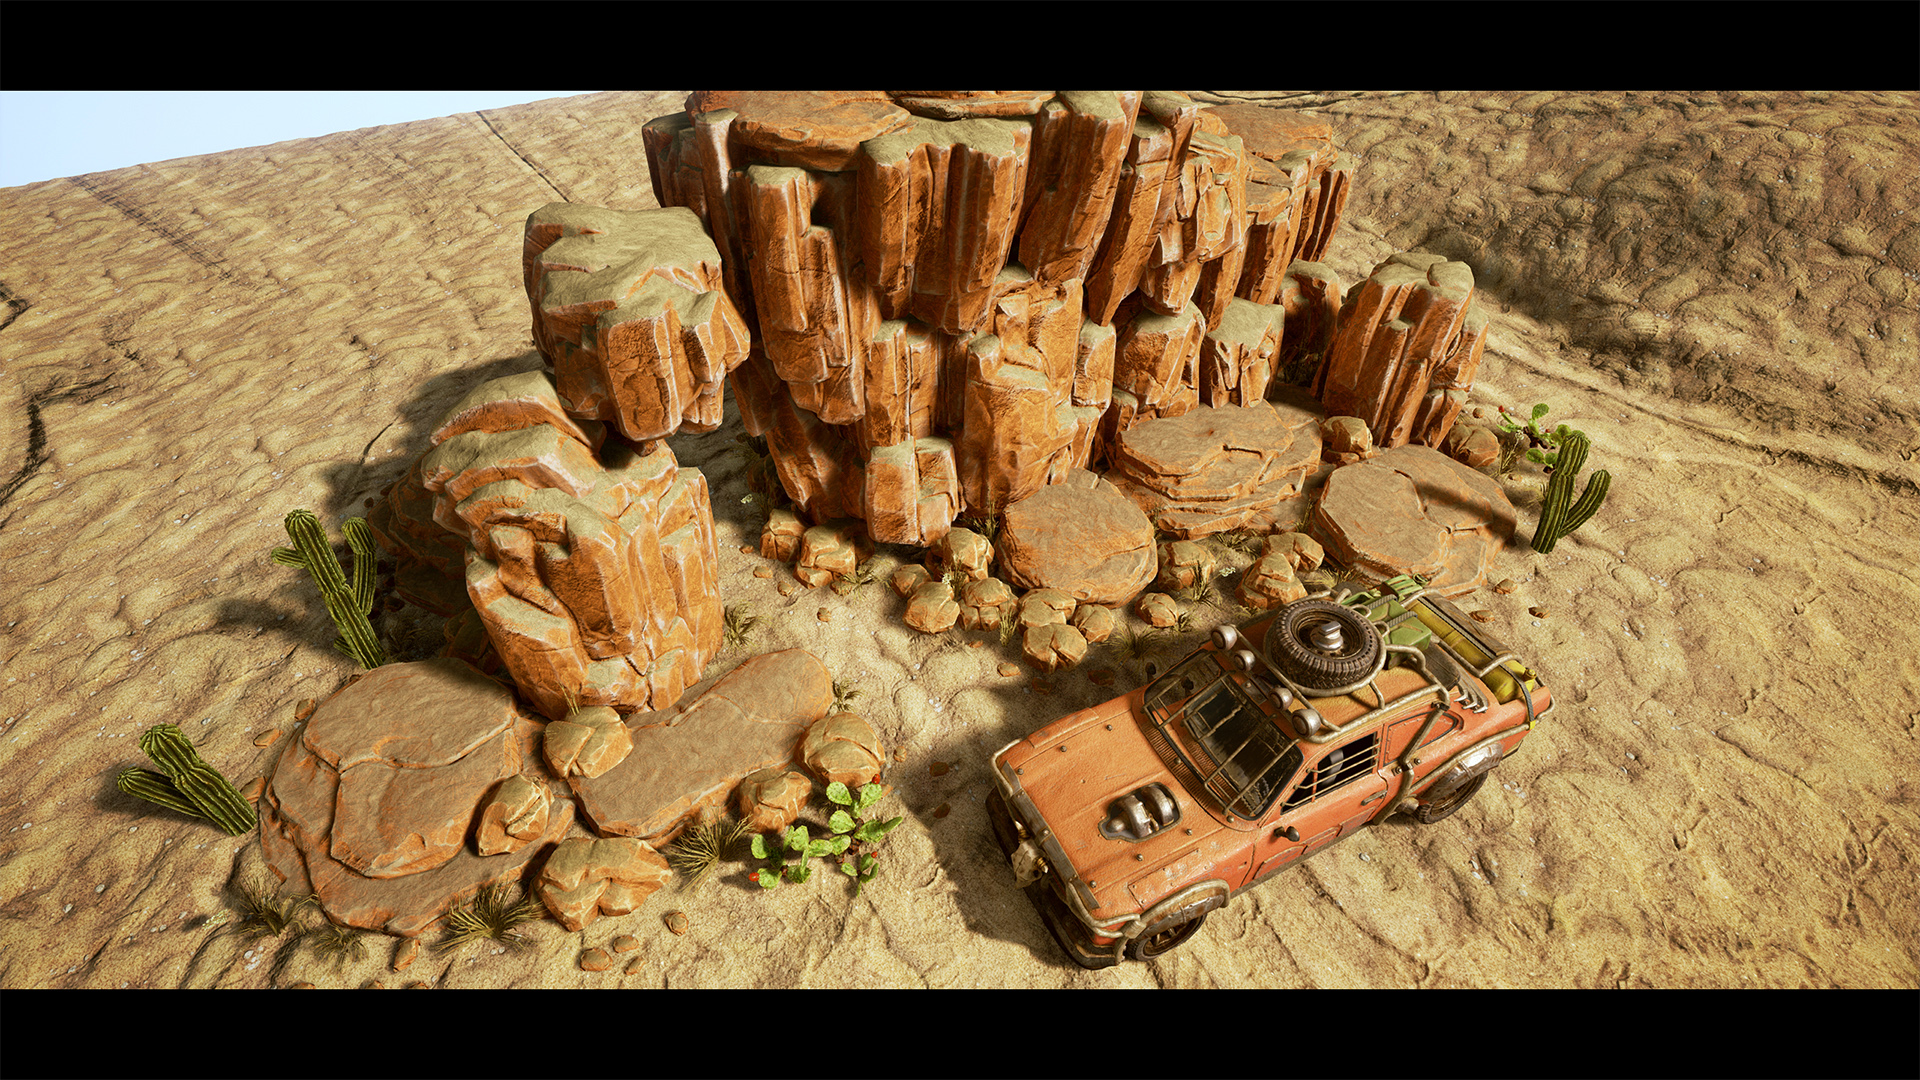
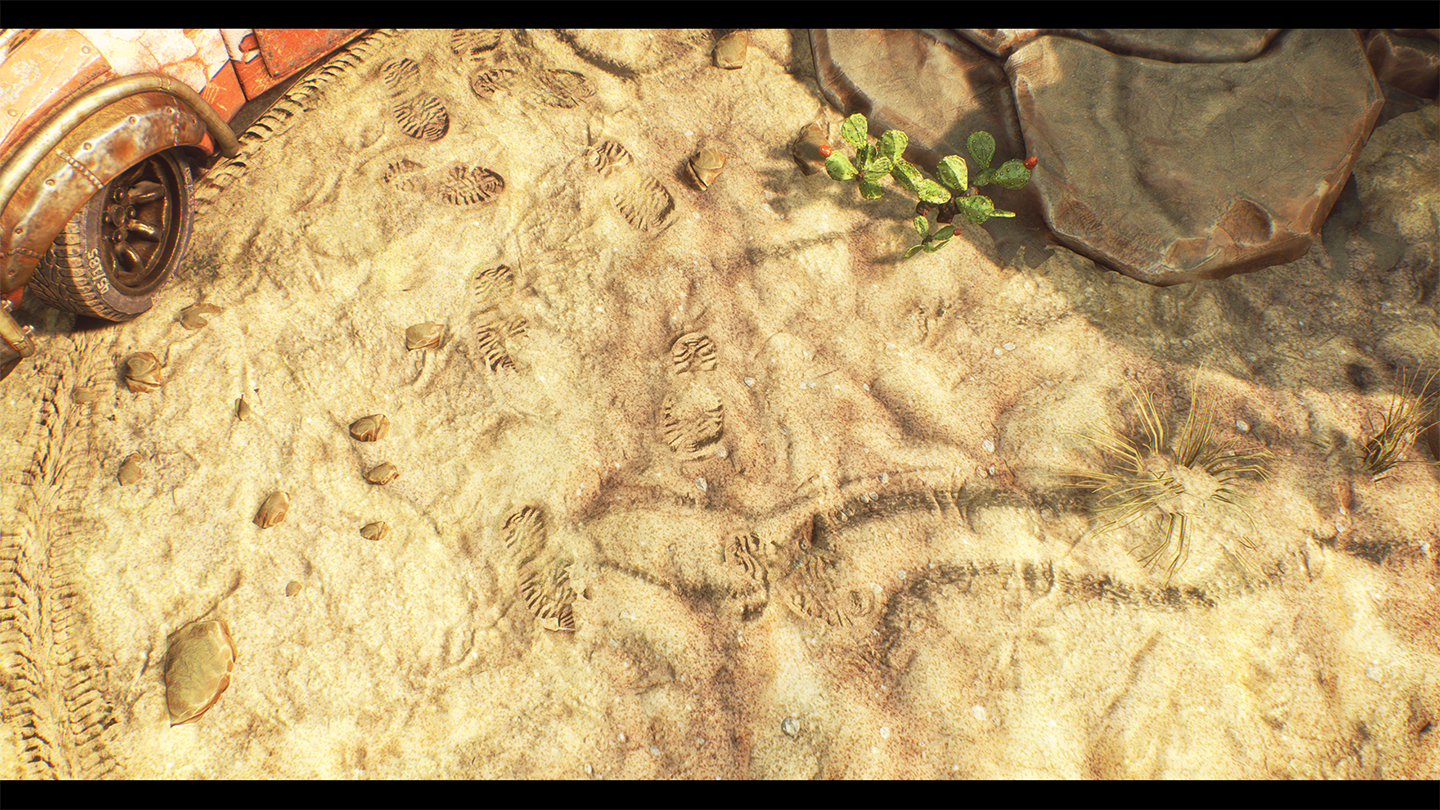
I wanted to add more details to the ground to tell a story. Driver was wounded in a battle and abandoned his car here. No he is continuing by foot to his safe place. My ground material is starting to be very complex so I decided to add extra geo with alpha mask to blend them on top of the ground. I simply created normal and ao maps in substance designer and photoshop. Tire tracks are using Unreal Engine 4 spline system to loop the tire track model and shoe prints are placed by hand so I have a lot of control over them. I still need to tweak every aspect of those details but here are something to start of 🙂
SylvainKlein and An.D. reacted
Topic starter
06/11/2016 3:18 pm
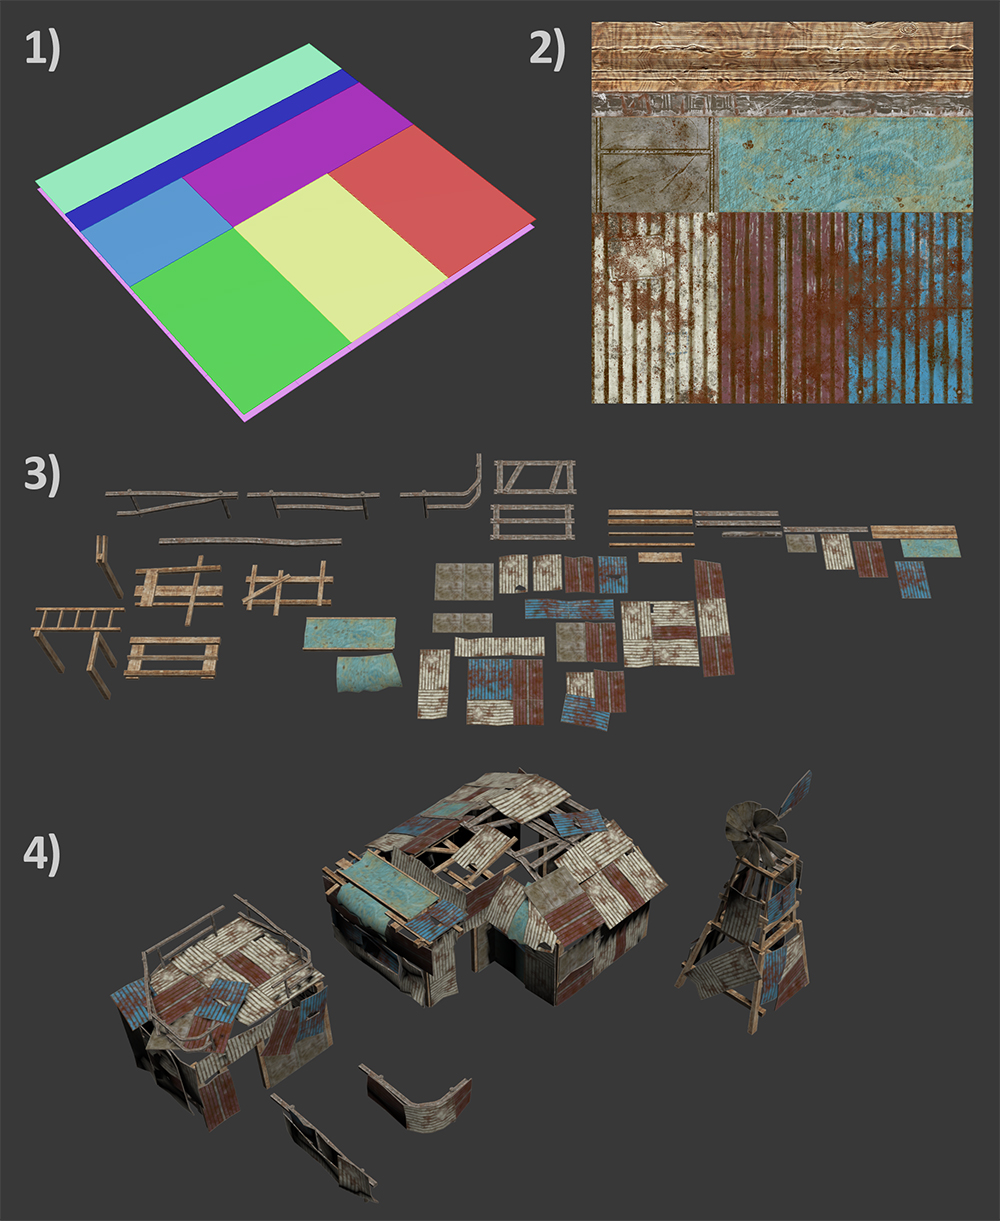
I´ve been messing around with different ideas that could make the environment look better. I came up with this shacks idea. It was pretty fast to make too. 1. First I planned the texture sheet. 2. Then I modeled hi-poly, sculpted it and texture the whole thing in Substance Designer. 3. After that I sliced it and made a small library of parts. 4. Then I just modeled shacks and buildings out of them.
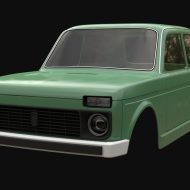
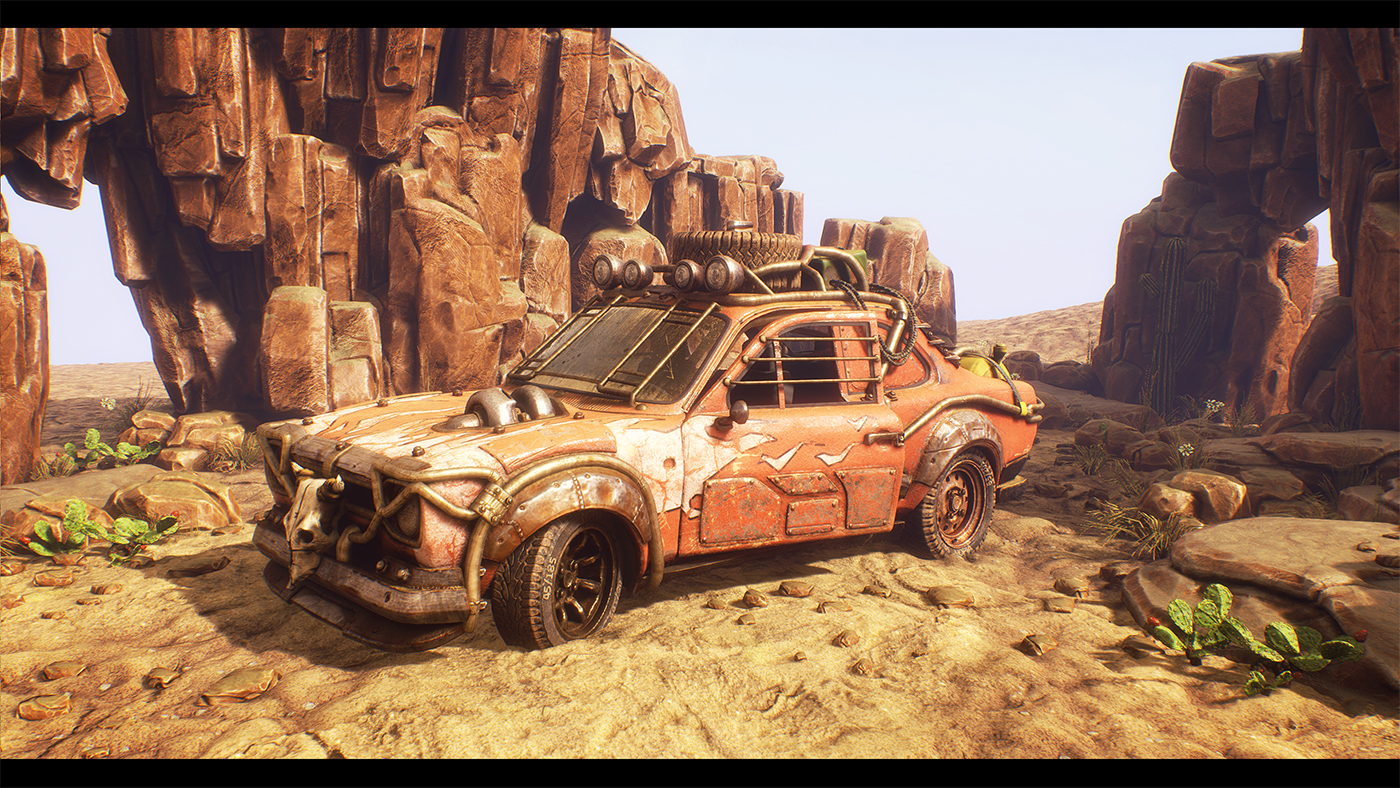
I also noticed that the orange paintjob of the car blend too well with the environment. That could work as a camouflage but visually it made the whole image too monochrome. Since the environment itself is pretty bright in colors I decided to tweak the paintjob to something else to create a better contrast between the car and the environment. This car belongs to a scavenger group. The driver has marked all his kills in the rear panel of the car. I´am also going to add some bullet holes to the windshield because the driver was shot in the battle.
Serhii reacted
10/11/2016 8:31 am
Feels game ready, love it.
Topic starter
13/11/2016 4:16 pm
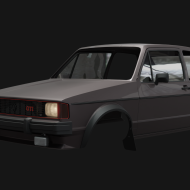
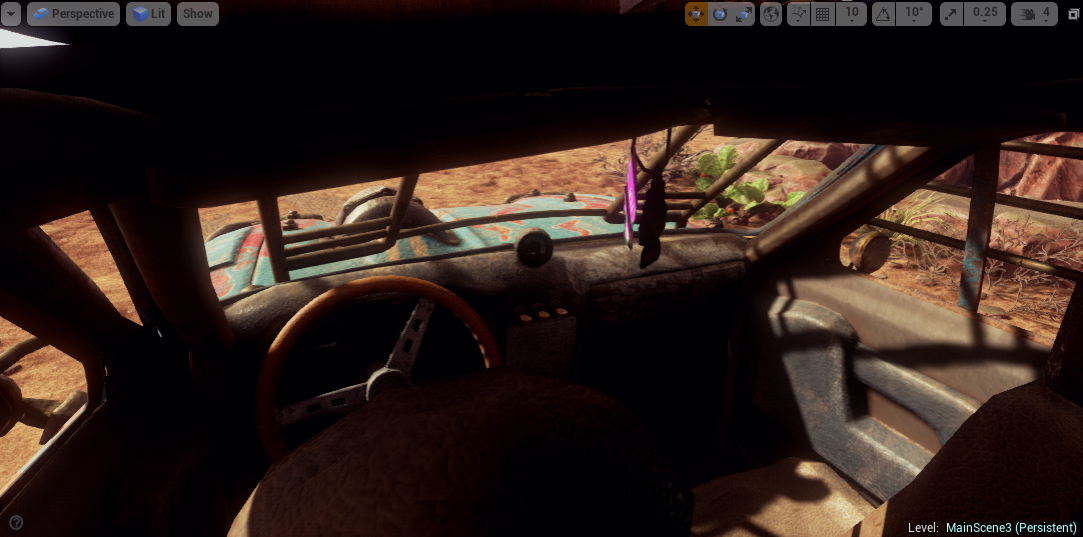
Another update. I decided to go with this paint. I also tweaked a lot of stuff and started texturing the interior. I need to make some changes to the background and some to textures and then I can call this one done. It has been a huge work to make everything from a scratch. That´s why I think I share this whole UE4 project when the comp is over so people can check what I did and how to not do things 🙂
Serhii and Universalism reacted
13/11/2016 7:39 pm
looks amazing!